SWV Watering Programmer
By Sonoff
Zigbee Watering Timer by Sonoff the SWV
This page has been visited ... times
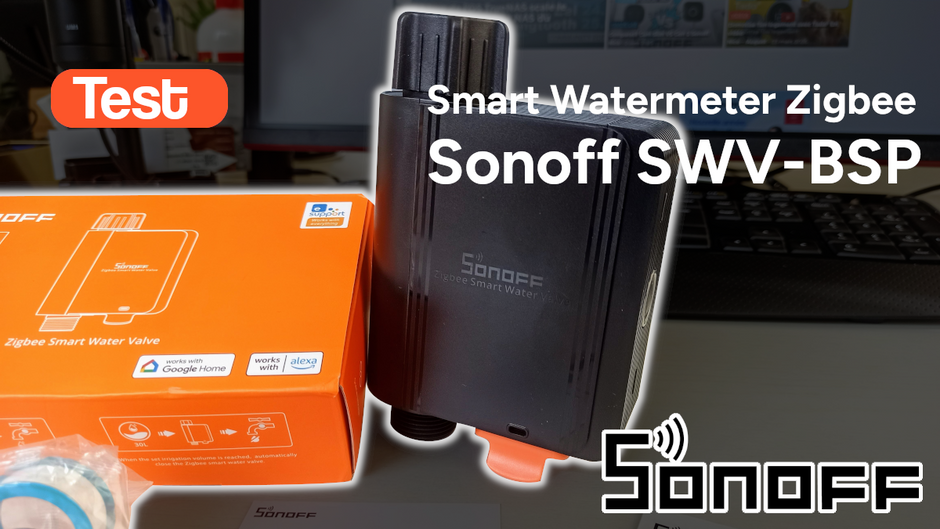
It’s been a while since I’ve written an article. I apologize, due to lack of time and the preparation of a hard-hitting article on integrating a wall-mounted tablet.
Today, I’m going to briefly but seriously introduce you to a must-have product with the arrival of warmer weather: the Zigbee watering timer from Sonoff, the SWV-BSP.
Sold for less than $30 at our partner Itead, the least we can say is that this price is unbeatable, especially given its quality and the number of commands available in Zigbee2mqtt, making it compatible with multiple open-source platforms.
I’ve already tested a similar product from another brand; if you’d like, you can compare it directly by clicking here, but be aware that the features and price differ between the two products! And the article on the Woox is from spring 2023…
The SWV-BSP packaging is, as usual, orange, indicating a product incorporating a Silabs EFR32MG22 Zigbee chip.
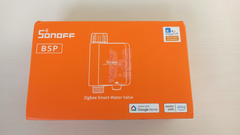
Compatible with ewelink but also zigbee2mqtt so multi-platform it is not indicated on the packaging but look a little further down I made an integration.
The Sonoff module SWV-BSP is supplied without batteries; you’ll need four AA batteries. Inside the box, you’ll find:
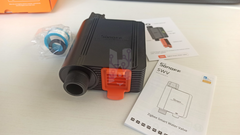
The battery compartment is well made and sealed with a gasket
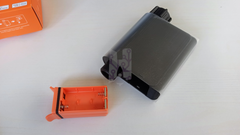
Below a top and bottom view of the Sonoff SWV-BSP fully compatible with our European systems
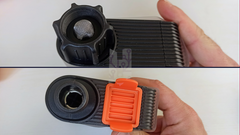
To complete the ultra-simple front interface, consisting of a single illuminated button
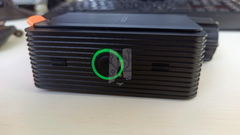
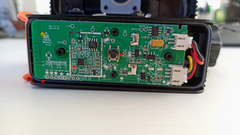
Sonoff once again demonstrates its expertise: the circuit board is very easy to access. You simply need to remove the two rubber covers to access two screws that will allow you easy access to the circuit board.
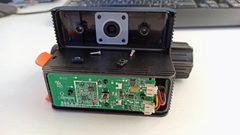
Easy to access and protected by an IP55 peripheral seal, the Sonoff SWV-BSP electronic board offers entry points, you will notice that Sonoff uses the Silabs EFR32MG22 chip.
| Thread Standard | BSP, NH |
| Rating | 6V(4*1.5V AA) |
| Wireless connection | Zigbee 3.0 |
| Working temperature | 5°C~60°C |
| Watering temperature | 5°C~40°C |
| Working humidity | 5%-95%RH, non-condensing |
| Waterproof | IP55 |
| Dimension | 152x100x46mm |
| Color | Black |
| Casing materials | PC+ABS |
| Working pressure | 0.06-0.8MPa |
Let’s move on to integration with Zigbee2mqtt and yes, the Sonoff is Home Assistant compatible, great! Nothing could be simpler: open the Zigbee discovery in Z2M and then press and hold the button on the module for 5 seconds. SWV-BSP
Once recognized, I recommend updating the firmware at the time of writing this article. The latest version available is 1.0.4 This version supports automatic shutdown in case of low water, automatic shutdown of the water valve after more than 30 minutes of water shortage.
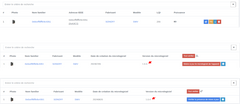
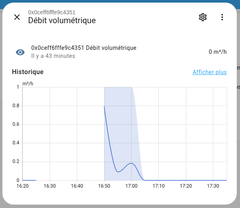
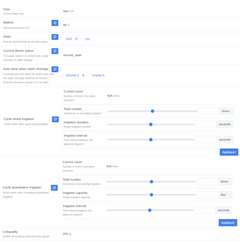
The functions present in Zigbee2mqtt are very complete, however I deplore the absence of a measurement function by liter, knowing the instantaneous flow rate in m3/h is not a readable function because it is possible to calculate the number of liters, fortunately in home assistant we can create this type of measurement by creating a Riemann integral
If you simply want to convert the flow rate of the SWV-BSP, which is in m3/h, to liters per minute, then this function may be of interest to you.
Click on the link below to add an input and model a sensor
{{ (states('sensor.irrigation_flow') | float * 1000 / 60) | round(2) }}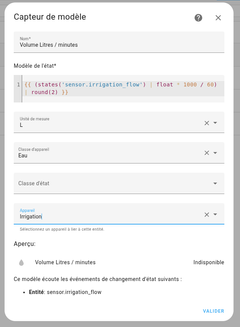
Click the link below to add an input and create a sensor.
{{ (states('sensor.irrigation_flow') | float * 1000) | round(2) }}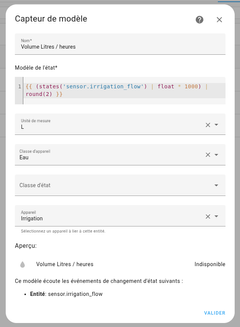
First, you need to create a utility meter entry (water, gas, electricity).
Click on the link below to add an entry.
Select the Flow of your irrigation entity, fill in the other parameters use the image below and that’s it, you will have created a sensor that will report the water consumption in m3 daily with a reset to 0 every 24 hours, you can of course modify it as you wish.
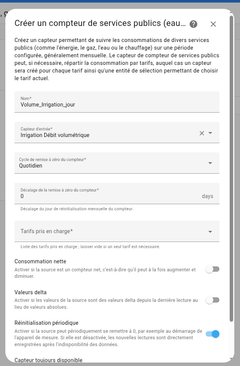
In the second step, you simply need to create a template to convert this result to liters, and you will now have a display of consumption in liters/day. Make sure to select the utility meter sensor, in my case sensor.volume_irrigation_day.
Click on the link above add an input and model a sensor
{{ (states('sensor.volume_irrigation_jour') | float * 1000) | round(0) }}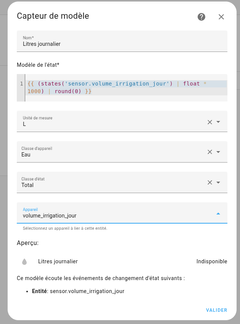
This approach has the advantage of allowing you to enter consumption rates and reset them daily, but you’ll need to create two entities.
If you want to create a single entity that would allow you to convert m3/h to liters/day, you can also do so by creating a single template. This function is simple to set up, but it will show the consumption for the last 24 hours!
Click on the link above add an input and model a sensor take inspiration from the links above, the method below helps you convert m3 to liters by multiplying it by 24 it will give you the consumption of the last 24 hours.
{{ (states('sensor.irrigation_flow') | float * 1000 x 24) | round(2) }}The feedback from the Sonoff SWV-BSP should be pretty close to reality, thanks, Sonoff.
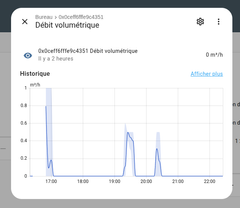
With HomeAssistant, you can easily optimize the consumption figures of the Sonoff irrigation module SWV-BSP.
The Sonoff SWV-BSP Zigbee irrigation module is a well-made product. As is often the case with Sonoff, the price is aggressive, up to 50% cheaper than the competition; you can find it for less than €26 on the official Chinese website. Compatible with Zigbee2mqtt is a real plus. I’ll still deduct 0.2 points for the lack of flow measurement in liters, which would make it very useful for default use, but this isn’t the case. Too bad! 😡. If you use Home Assistant, you can work around this problem.
Copyright © 2026 Haade 🎉 by Nicoxygen
Comments