Box Home Assistant Yellow
By Nabu Casa
Home Assistant Yellow is your Matter-ready, scalable and expandable home automation hub.
This page has been visited ... times
Some time ago I introduced you to the box home assistant Green, a plug’n play box at less than 100€ which is causing a sensation in the world of home automation. Today it’s the turn of the Home Assistant yellow, released well before the green box, this box is not ready to work upon purchase, however the different options available still make it a home automation box of choice but for a more informed public!
For a versatile integration I decided to add a z-wave 800 GPIO key from the Zooz brand, so the Home Assistant yellow box will be natively compatible with the protocols (wifi, bluetooth, thread, Matter, z-wave 800 and zigbee 3.0), to continue I added a sandisk 500GB ssd hard drive to compensate for the storage present on the CM4 card, namely if the Home Assistant yellow box manages the SSD disk well!
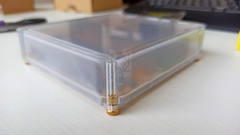
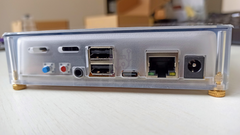
The similarities between the last two boxes produced by Nabu Casa are aesthetic, oh I would say 99% 🤠, just that you will tell me, but if you don’t believe me just look at the photos taken below.
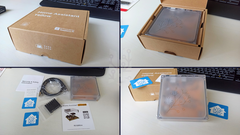
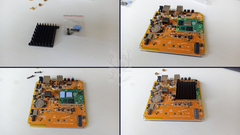
The Home Assistant yellow box comes with an rj45 cable (for the POE version), a heat sink for the raspberri CM4, thermal pastes and everything needed to fix the whole thing. Nice stickers and an online installation guide accompanies the rest. The web page dedicated to the Home Assistant yellow box is very complete, I advise you to visit it without further delay.
Haade.fr is a participant in the Amazon Services LLC Associates Program, an affiliate advertising program designed to provide a means to earn fees by linking to Amazon.com and affiliated sites.
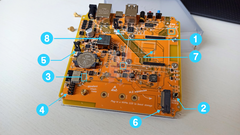
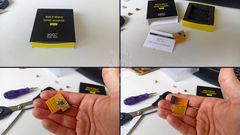
Good News Zooz, produces a Z-wave ZAC93 Europe/Us compatible 800 series key in GPIO format and all compatible with the Home Assistant yellow, what more could you ask for for this integration.
The Z-wave 800 key has recently become available on the Amazon site This is good news, you can also order it directly from the official American website of Zooz The Smartest House Zac93, the key will only cost you $18 but don’t forget the shipping costs.
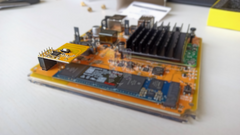
Rendering of the ZAC93 GPIO key on the box Home Assistant yellow
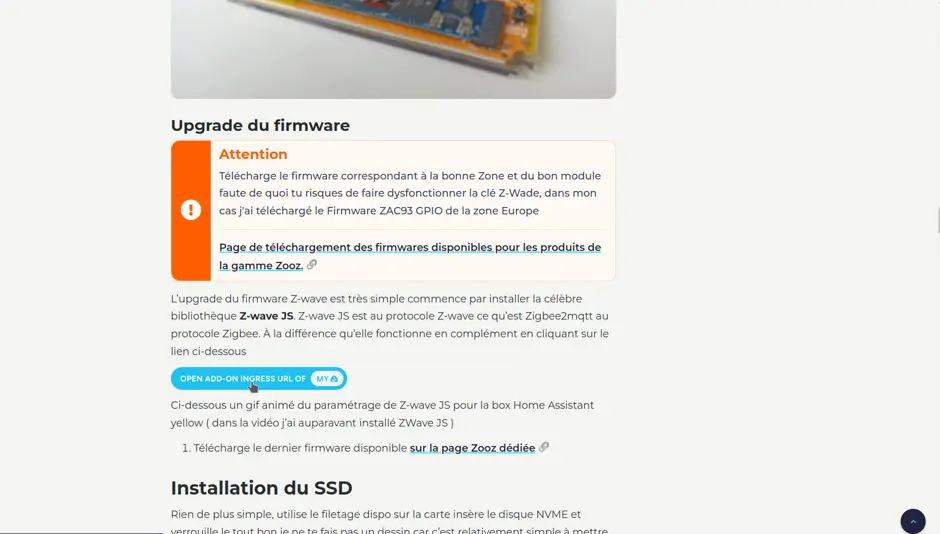
Download the firmware corresponding to the correct Zone and the correct module, otherwise you risk making the Z-Wade key malfunction. In my case, I downloaded the ZAC93 GPIO Firmware for the European zone.
Upgrading the Z-wave firmware is very simple, start by installing the famous Z-wave JS library. Z-wave JS is to the Z-wave protocol what Zigbee2mqtt is to the Zigbee protocol. The difference is that it works in addition by clicking on the link below
Below an animated gif of the Z-wave JS configuration for the Home Assistant yellow box (in the video I previously installed ZWave-JS)
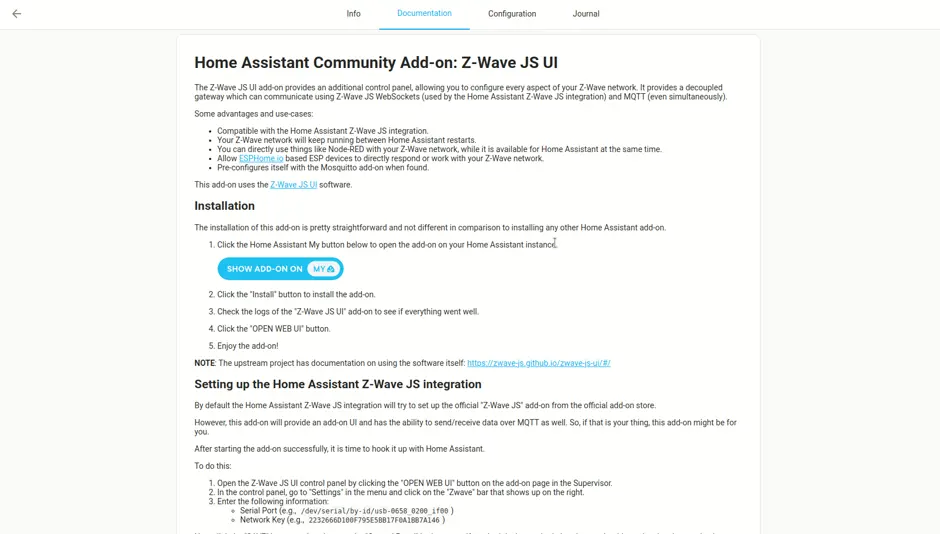
Then it’s not over you have to link Z-wave JS to the Z-wave device nothing very complicated follow the doc available in the z-waveJS module Documentation section, retrieve or copy this address ws://a0d7b954-zwavejs2mqtt:3000 go to Settings > Device and service then add an integration, select in the z-wave search engine and deselect use the add-on …., finish by pasting the address, and there you go.
Watch the video which shows the manipulation
Nothing could be simpler, use the thread available on the card, insert the NVME disk and lock it all, I won’t draw you a picture because it’s relatively simple to set up.
Currently Home Assistant does not manage the NVME disk separately, let me explain, this disk will only be used for the moment to replace the storage integrated in the raspberry CM4 card and not as an additional disk, so if you want to store your backups or other images/videos from an nvr you will have to transfer the HAOS software from the raspberry pi to this ssd.
In the current state of things the nvme ssd hard drive will not be of full use so optional for the moment unless you have chosen a CM4 lite without storage space. The lite version costs 17€ less than the 32GB version. Choose wisely from the start.
Find in this tab the essentials of the complementary installations for home assistant in order to best prepare your home automation such as automated backup, monitoring, simplified remote access, firmware updates, in short the essentials!
It is becoming almost essential to install hacs in addition to the Home Assistant modules, it is a breeding ground for large-scale integrations and themes, the installation of this module has been simplified and revised this year. I will spare you the installation in image because the official instructions are very well done.
Official HACS Installation Instructions
Summary:
HACS will not appear in the list unless you clear your browser cache or do a full refresh. In the bottom right corner, select + Add Integration.
Manual backup is available by default in HAOS Home Assistant yellow Systems/Backups, you will find in this tab all the backups available before updates, and those requested manually, but if you want to automate backups on a daily/monthly basis, etc, you will need to install an add-on, I chose Auto Backup.
The module manual is complete, if you have any questions do not hesitate to contact me.
JCWillox Home assistant auto backup
Downloads the Hass-auto-backup directory
Then add the integration
Blueprint Event and Service
JCWillox example Events and Service
A lot of functions like LED control are done natively with the Yellow version of HAOS. Go to Settings > System > Hardware or click on the link below:
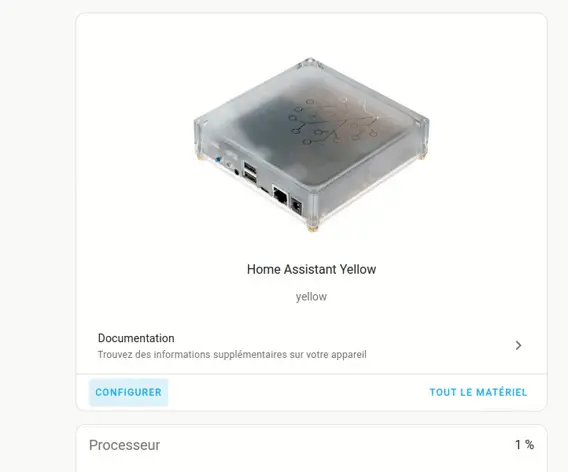
However if you want to monitor all the functions available with the Raspberry CM4 as well as other functions (70 at the time of writing this article) you will need to install System monitor, that’s good because it’s ultra simple, click on the link below:
A dedicated page of explanations and available by the Nabu Casa site
Option (recommended) reinstall Home Assistant OS using the red + blue button
Wiki Home Assistant for manual firmware flash
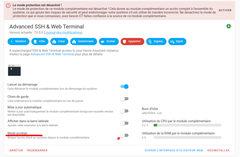
install the Advanced SSH and terminal add-on by clicking the button below directly
Don’t forget to disable Module Protected Mode, otherwise you won’t be able to access the hardware and therefore the key.
Below are the steps to install other firmwares and bootloader on the zigbee key
pip install universal-silabs-flashergit clone https://github.com/NabuCasa/silabs-firmware.gitcd silabs-firmwareAnd install the latest firmware version
universal-silabs-flasher \
    --device /dev/ttyAMA1 \
    --bootloader-reset yellow \
    flash \
    --allow-cross-flashing \
    --firmware ./EmberZNet/beta/NabuCasa_Yellow_EZSP_v7.4.0.0_PA32_ncp-uart-hw_115200.gbl \
If you want to install the latest version of the bootloader and firmware available on the new Nabu casa repository, go to this address https://github.com/NabuCasa/silabs-firmware-builder/releases
go to the Bootloader directory
cd Bootloader
wget https://github.com/NabuCasa/silabs-firmware-builder/releases/download/v2024.10.21/yellow_bootloader_2.4.2.gbl
universal-silabs-flasher \
--device /dev/ttyAMA1 \
--probe-method bootloader \
--bootloader-reset yellow \
flash \
--firmware ./Bootloader/yellow_bootloader_2.4.2.gbldo the same for the firmware
cd EmberZNet/beta/
wget https://github.com/NabuCasa/silabs-firmware-builder/releases/download/v2024.10.21/yellow_zigbee_ncp_7.4.4.0.gbl
universal-silabs-flasher \
--device /dev/ttyAMA1 \
--bootloader-reset yellow \
--allow-cross-flashing \
flash \
--firmware ./EmberZNet/beta/yellow_zigbee_ncp_7.4.4.0.gbl \Unlike other manufacturers of home automation boxes, Home Assistant resonates the opposite by focusing its main strength on security. When you access the Home Assistant environment you have completely local access by default. If you want to access your box from outside you will have to either choose the Nabucasa cloud offer which is of course paid. But you can also set up a free service like the wireguard vpn, or use a duckdns module. But if you don’t know anything about it you can also set up a completely free system called FRP and integrated by Haade. I wrote an article about it, in 2-3 clicks you can connect remotely using a *.eu.haade.fr address and I want to say it’s all free for 2 years now. To do this, nothing could be simpler contact me and I will give you a login and password, our server is protected by a VPN, for the installation tutorial I wrote a complete article available at this address.
To have such a configuration and let’s start with the fact that we want to transfer the storage space of the HAOS operating system to an SSD, it cost me:
To have an installation with different protocols (Z-wave, Zigbee, Wifi) the whole thing cost me: 323€ WAF but expensive ..
Note: Google Coral AI Accelerator does not work in the expansion slot. For more details, see this issue
Power:
Case:
Product + points:
The - of the product:
Haade.fr is a participant in the Amazon Services LLC Associates Program, an affiliate advertising program designed to provide a means to earn fees by linking to Amazon.com and affiliated sites.
So I’ve pretty much covered everything by presenting the Home Assistant yellow box to you, it’s a box certainly of quality but it’s not recommended for novices because you’ll have to get your hands dirty for the installation, nothing very complicated but not at all plug’n play. As a result, it’s more oriented towards experienced home automation engineers. Which is also its strength because it’s modular and you can use 5 protocols without having installed a single USB key.
Copyright © 2026 Haade 🎉 by Nicoxygen
Comments