Managing Backups in Homeassistant

This page has been visited ... times
Today I’m going to talk about an important aspect not to be overlooked in home automation: Backup.
Many of us do not think about this practice except we must not neglect it.
In this article I will show you how to backup Homeassistant very easily on any private external media and this very easily.
When I say any support I mean your Nas, your pc, your phone or your tablet see more.
But in addition and thanks to an add-on I will also show you how to automatically generate a complete backup or not of Homeassistant.
Prerequisites
- Homeassistant OS installed
- external support with Syncthing installed
- HACS installed on Homeassistant
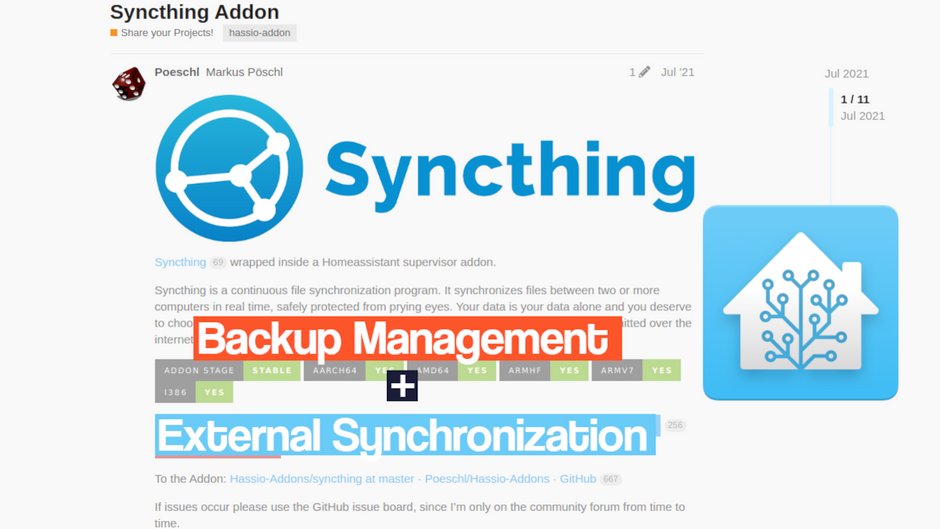
Syncthing
For those who do not know the principle it is very simple. Syncthing is an opensource software that allows you to synchronize folders or files end to end. It can be installed just as well on a pc (windows, mac or linux, docker), on a Nas (docker, Truenas, Synology) as on a mobile device, that simply means that it can be installed on all mediums.
No excuses not to use it.
The notion of server/client does not exist, each system where syncthing is installed is a client, it is therefore necessary to configure on each client the sending and receiving each folder/file. Very easy to set up syncthing is accessible to everyone and allows you to do without proprietary clouds like Google drive, Amazon S3 etc…
In my example I installed Syncthing on Homeassistant HAOS and on an Openmediavault NAS with Docker.
Installing Syncthing in HAOS
Let’s start by adding Poeschl’s repository to the module manager. Go in: Settings > Add-ons > Add-ons Stores > Menu > Repositories
- paste the external directory: https://github.com/Poeschl/Hassio-Addons and click on Add.
- Then refresh the page and you will see the directory: Poeschl Home Assistant Add-ons This directory contains a lot of additional modules like: Asterisk, Mpd, rsync, etc…
- Click on Syncthing and install, you don’t have to change the settings, it was cool.
- Once installed, just click on open web user interface And now, it’s over.*

Let’s go to the NAS settings:
the stage of setting up a login and pass to access the web interface is not an obligation in Homeassistant because it is itself already set up with a password.
Warning
The Syncthing administration interface is configured to allow remote access without a password. This can easily allow an intruder to read and modify any file on your computer. Please set a username and password in the Configuration window.
Let’s start by adding a Device, in my case the NAS. Click at the bottom right on add a Device, find the identifier of your device. Nothing could be simpler, go to the Syncthing server installed on your nas address: http://[ip-du-nas]:8384, click on the action tab at the top right and select show my ID. Then copy the ID and paste the das Syncthing Homeassistant, enter a friendly name, for me NAS and valid. Last step returns to Syncthing of the NAS and authorizes the synchronization of Devices in the yellow tab.
Then Add a share, in my case I would like to share the /backup folder. Put a share name and in the root tab link /backup. Last step go to Advanced > Type of sharing > Sending (read only), to finish click on save.
Go to Syncthing of the NAS and accept sharing. Once accepted, go to the shared tab that bears the previously registered name and click on manage. Go to the advanced tab > Receive sharing type (only), finish by clicking on Save.
Here is your Backup folder with all your backups will be synchronized with your NAS.
Auto backup (hacs)
Now that you have learned how to easily synchronize your backups externally using syncthing, let’s move on to creating automatic backups in HomeAssistant. For that I chose to install Auto Backup a module available in HACS. Click on the link below to easily install auto-backup in HACS
Then once installed click on the link below to add auto_backup as Device in HA.

Once the auto backup set is installed, open the following services:
auto_backup.backup
auto_backup.backup_full
auto_backup.backup_partial
auto_backup.purge
as well as the following events:
auto_backup.backup_start
auto_backup.backup_successful
auto_backup.backup_failed
auto_backup.purged_backups
With this module you will be able to:
- Provides more advanced and configurable service calls.
- Exclude addons/folders from a backup.
- Automatically delete backups after an individually specified amount of time.
- Download backups to a specified directory after completion (for example a usb drive).
- Allows the use of addon names instead of slugs.
- Provides a sensor to monitor the status of your backups.
- Creates events for when backups are started/created/failed/deleted.
- Supports generational backup schemes.
Example of Blueprint integration for generating backups:
Blueprint integration example for generating a notification:
But auto_backup is also full documentation available, just click on this link. You will easily find examples of automations and notifications in the form of Blueprint.
Conclusion.
This is in my opinion an essential tutorial, so I did not provide screenshots, with a minimum of knowledge of homeassistant you should be able to get by at least I hope so. If Syncthing doesn’t suit you you always have the solution to integrate a google drive compatible module, this tutorial is written by Juanmi Home Assistant specialist. Finally, do not hesitate to contact me on the forum or by leaving a comment, I will answer you quickly 😉.

Articles that might interest you

Kincony B8M ESP32 8-channel MOSFET controller test for irrigation
I’ve been looking for a compact and silent multi-channel controller to drive my 24V DC irrigation system for quite some time. After testing Zigbee solutions like the Sonoff SWV or...

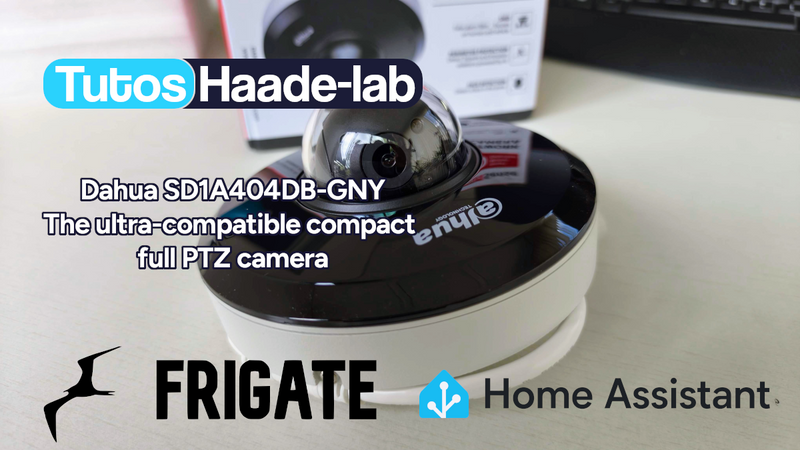
Dahua SD1A404DB-GNY the full option PTZ camera in Frigate
Following my Reolink Trackmix Poe camera test, I mentioned having found my ideal camera with a Dahua model. Well, here we are! Let me introduce the Dahua SD1A404DB-GNY, a compact...
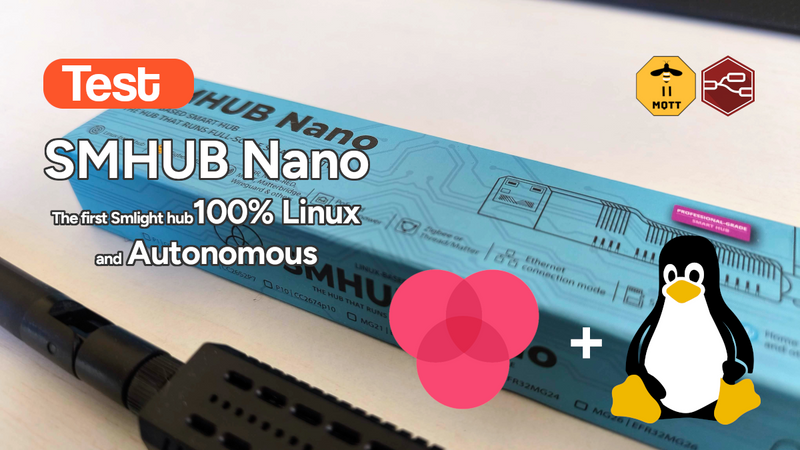
SMLIGHT SMHUB NANO Review: The fully independent Linux smart home hub
After testing the SLZB-MR4U multi-radio dongle, I’m turning back to the SMLIGHT brand for a radically different yet equally exciting product: the SMHUB NANO MG24.
Comments