
Openwrt One
By Openwrt
Banana Pi OpenWrt One MediaTek MT7981B 1GB DDR4 2.5GbE RJ45 and Gigabit Ethernet RJ45 256 MiB SPI NAND Open Source Smart Router

This page has been visited ... times
I wanted to write a summary tutorial because I encountered several problems while setting up my secondary router, which runs OpenWrt. I finally found all the information in the official documentation, making a few modifications. And in this article, I’ll walk you through the entire installation process with images, which can be configured directly through the Luci interface.
I have a Freebox with a fairly comprehensive administration interface. It also distributes 10G fiber optic traffic over my internal network, which is why I wanted to keep this Freebox in router mode and switch the OpenWrt gateway, installed on a Xiaomi AX3200 router, to access point mode.
To switch OpenWrt to access point mode (bridge mode), it’s important to connect the Freebox’s router’s LAN port to the LAN port of the OpenWrt router. Then, you can connect OpenWrt to the WAN port.
First, go to Network > Interfaces and edit the LAN port.

Add:


It is recommended to disable the DHCPv4 and DHCPv6 servers on the router’s LAN interface to allow the home automation system to manage IP addresses.
Go back to LAN interfaces > DHCP server:
Ignore the DHCP interface

Disable IPv4 services

Disable RA and dhcpv6 services

Finally, the router has a WAN port that’s currently unusable, but with OpenWrt, nothing can compromise it, so we’ll connect it to the LAN interface.


At this point, the OpenWrt router is correctly configured as an access point on your Freebox network. I’m sure you already know this, but a quick reminder never hurts.
To begin, we’ll create a device named “br-guest”. Go to Network > Interface > Device.
Then create a new device

Finally, backup
The screenshot below shows you both devices suitable for proper use.
PS: If the MAC address isn’t created immediately for the guest br, don’t worry, it will be once linked to the guest interface.

In the interfaces tab, start by adding a new interface:

Finally, click on “Create an interface” and then on General settings.

In firewall settings

in dhp server


Enable the DHCP server

finally save, save and apply
At this stage, your interfaces should look like the screenshot below.


Important: Network protection by password

At this stage, you have a guest network that has internet access but not access to your main local network and is protected by the firewall.
Now that the router is configured as an access point (bridge mode), and your guest network is fully active, you need to allow and deny access in the firewall interface.
Go to Network > Firewall
In Zone (Zone Forwarding)

Check the forwards carefully; they must match the screenshot below.

Let’s move on to traffic rules
In traffic rules, we’ll create three rules: one to allow communication on DNS port 53, a second to allow communication on DHCP ports 67-68, and a third to deny access to the local area network (LAN).
For port 53, click Add

For ports 67-68, add a second rule

Block access to the local network adds a third rule

The firewall interface is now correctly configured.

AdGuard Home is software that blocks ads and trackers across your entire internet network, directly at the connection level.
Simply put: Instead of installing an ad blocker on each device (phone, PC, tablet), you install it only once on your network (router, Raspberry Pi, server, etc.). Then, it automatically protects all connected devices.
To limit memory breaks, you can limit request log delays and/or statistics delays in AdGuard Home. However, to limit requests if, like me, you only have 256MB, I recommend selecting the Hagezi’s Pro and Hagezi’s TFS Mini DNS blocking lists. All these lists are available on the official GitHub repository: official Hagezi’s lists
ps: AdGuard DNS filter, the one selected by default, works quite well.
Nothing too complicated, go to System > Software, first click on “Update Lists”, then in the search engine type adguard and install adguardhome and luci-app-adguardhome (the second will allow you to view the services; a “Services” tab will be created).

Since the AdGuard service uses DNS port 53, it will need to be released in OpenWrt. To do this, go to Network > DNS > Devices and Ports and in the Server DNS Port field, enter port 54. Finally, save and apply.

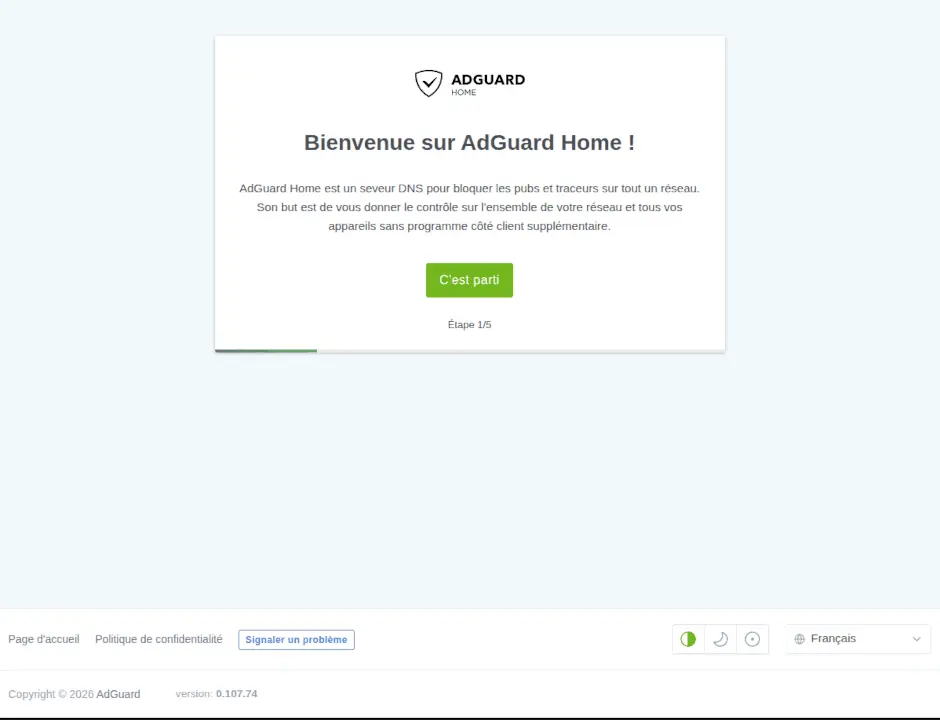
Now you can configure AdGuardHome by going to your IP address: 300 for me http://192.168.1.2:3000
In the AdGuardHome settings:
If you’ve followed the previous steps correctly, you shouldn’t see any messages written in red. After the final information steps, you can connect to AdGuardHome using the link http://ipaddress:8084, for example.
If you followed this tutorial, your LAN interface should have both IPv4 and IPv6 servers disabled. However, if you decide to leave them enabled, you’ll need to enter some additional rules in the interface. To do this, edit the LAN interface again, first selecting the dedicated IPv6 address.

In dhcp > main settings, you will need to add 3 rules to dhcp-options, depending on your LAN IPv4 address:

In IPv6 settings > IPv6 DNS server advertisement paste your IPv6 server without /60 in my case: fda2:9907:aefa::1 Finally, save, apply, and save.

There you have it, I didn’t invent anything. You’ll find plenty of information in the official OpenWrt documentation, but a quick summary doesn’t hurt.
10 minutes will be enough to turn your OpenWrt router into an access point behind a main router, create a complete guest interface to protect your local network, and finally secure everything with the integrated firewall and the excellent ad and website blocker, AdGuardHome.
OpenWrt is an extraordinary piece of software that will allow you to unleash your imagination thanks to its virtually unlimited options.
Don’t forget to support the OpenWrt project by purchasing the excellent OpenWrt One router; it’s particularly effective with AdGuardHome and its 1GB of RAM.

I’ve been looking for a compact and silent multi-channel controller to drive my 24V DC irrigation system for quite some time. After testing Zigbee solutions like the Sonoff SWV or...

Following my Reolink Trackmix Poe camera test, I mentioned having found my ideal camera with a Dahua model. Well, here we are! Let me introduce the Dahua SD1A404DB-GNY, a compact...

I recently purchased a Reolink Trackmix PoE camera to equip my home and ordered directly from the official Reolink website, Reolink.com. However, I wanted to cancel the order because I...
Copyright © 2026 Haade 🎉 by Nicoxygen

Comments