Easily install YoloV9 and make detection smart

This page has been visited ... times
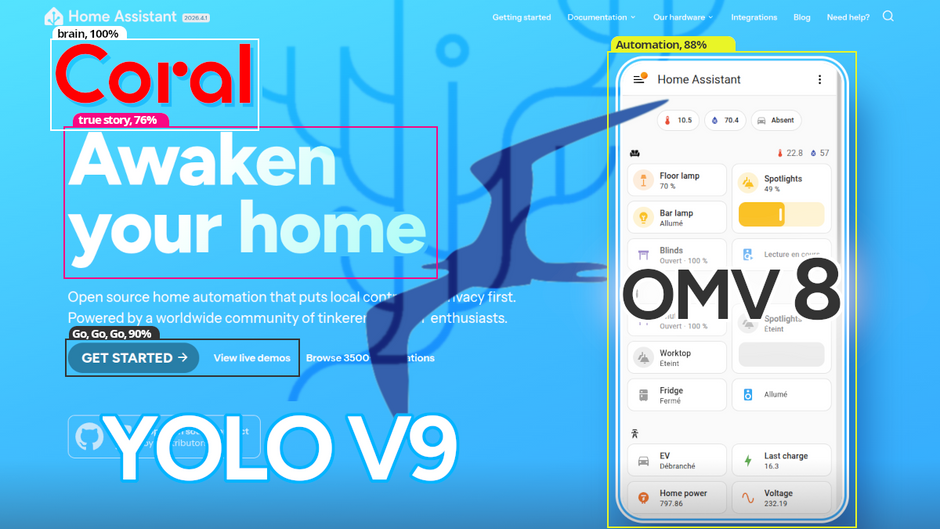
Yolo V9 is a task manager and cutting-edge object detector that’s free and ultra-powerful. It will analyze videos faster than lightning and prevent many false positives.
In this tutorial, I’ll show you how to easily install it using a GitHub repository that should be integrated into a future Frigate update.
Prerequisites
- A Debian NAS OpenMediaVault, preferably version 8
- A hardware accelerator Google coral (pci or usb) functional
- An NVR, here it will be Frigate
- optional Home Assistant
This tutorial is for Linux users with some Docker knowledge who have previously installed a Debian system with a Frigate image!
Installation
To begin, my environment is as follows:
I have OMV natively installed on a primary NAS server, not via Proxmox. Docker and Docker Compose are configured, with a working Frigate image.
I have a Google Coral gasket, version M.2 (A+E), installed in place of the Wi-Fi card. If you haven’t yet configured this accelerator, a while ago I created a mini-tutorial covering a quick installation in just a few clicks.
Simple, quick, and efficient, feel free to check it out.
GitHub Repository
To make this installation easy and quick, dbro created a complete repository that was merged onto Frigate. This installation is configured to ensure that analysis times on the Google Coral accelerator and Frigate do not exceed 10ms. He achieved this feat thanks to numerous tests, the results of which are documented in his repository.
https://github.com/dbro/frigate-detector-edgetpu-yolo9
Setup
Let’s assume your Frigate installation is Docker-based using a Docker Compose file.
Here’s a Docker Compose example based on one of my installations.
---
services:
  frigate:
    container_name: frigate
    privileged: true # this may not be necessary for all setups
    restart: unless-stopped
    stop_grace_period: 30s # allow enough time to shut down the various services
    image: ghcr.io/blakeblackshear/frigate:stable
    shm_size: "276mb" # update for your cameras based on calculation above
    devices:
      - /dev/apex_0:/dev/apex_0
      - /dev/dri/renderD128:/dev/dri/renderD128
      - /dev/dri/card0:/dev/dri/card0
    volumes:
      - /etc/localtime:/etc/localtime:ro
      - /Frigate/config:/config
      - /export/videosurveillance:/media/frigate

      - type: tmpfs # Optional: 1GB of memory, reduces SSD/SD Card wear
        target: /tmp/cache
        tmpfs:
          size: 1000000000
    ports:
      - "5000:5000" # Internal unauthenticated access. Expose carefully.
      - "8554:8554" # RTSP feeds
      - "8555:8555/tcp" # WebRTC over tcp
      - "8555:8555/udp" # WebRTC over udp
      - "8971:8971"
    environment:
      FRIGATE_RTSP_PASSWORD: "password"
In my file, you’ll find the hardware acceleration lines for Google Coral: /dev/apex_0:/dev/apex_0 and /dev/dri/renderD128:/dev/dri/renderD128.
Here’s what Dbro suggests:
First, install the utilities on your NAS, not in the Frigate container, after performing a Debian update: sudo apt update && sudo apt upgrade
sudo mkdir -p /opt/frigate-plugins
cd /opt/frigate-plugins
# download weights
sudo wget https://github.com/dbro/frigate-detector-edgetpu-yolo9/releases/download/v1.0/yolov9-s-relu6-best_320_int8_edgetpu.tflite
# download plugin
sudo wget https://raw.githubusercontent.com/dbro/frigate-detector-edgetpu-yolo9/main/edgetpu_tfl.py
# download labels
sudo wget https://raw.githubusercontent.com/dbro/frigate-detector-edgetpu-yolo9/main/labels-coco17.txt
Next, update your Docker files by adding 3 lines in the volume tab
# ... other services ...
frigate:
  # ... other frigate configurations ...
  volumes:
    # ... existing volumes ...
    - /opt/frigate-plugins/edgetpu_tfl.py:/opt/frigate/frigate/detectors/plugins/edgetpu_tfl.py:ro
    - /opt/frigate-plugins/labels-coco17.txt:/opt/frigate/models/labels-coco17.txt:ro
    - /opt/frigate-plugins/yolov9-s-relu6-best_320_int8_edgetpu.tflite:/opt/frigate/models/yolov9-s-relu6-best_320_int8_edgetpu.tflite:ro
  # ... rest of frigate service ...
All you have to do now is increase the volumes
docker-compose down
docker-compose up -d
Final step: configuring Frigate
Now that everything is installed on your image, all you have to do is configure the Frigate config.yml file. Above your detector lines, integrate the detection model:
model:
  model_type: yolo-generic
  labelmap_path: /opt/frigate/models/labels-coco17.txt
  path: /opt/frigate/models/yolov9-s-relu6-best_320_int8_edgetpu.tflite
  # Optionally specify the model dimensions (these are the same as Frigate's default 320x320)
  width: 320
  height: 320

# Google coral m2
detectors:
  coral:
    type: edgetpu
    device: pci
Restart Frigate, check the system logs and metrics, and you’re all set.
All that’s left is to properly configure object detection in Frigate’s config.yaml file to see the improved performance.
In the system logs, you should see the message: Initializing edgetpu detector with support for SSD and YOLOv9 models

In the system metric you’ll see that the detector’s inference speed is below 10ms for the capture below; it’s 9.34ms, which is good. This is thanks to a well-defined model in the 320px capture.

Conclusion
There you have it, in 2 simple steps you’ve made your NVR even smarter. The Google Coral / Yolo V9 combo will enhance detection and optimize performance of your Frigate and make your Home Assistant home automation more sophisticated.

Articles that might interest you

OpenWrt tutorials, AP bridge mode, guest access, and network protection
I wanted to write a summary tutorial because I encountered several problems while setting up my secondary router, which runs OpenWrt. I finally found all the information in the official...

Easily unlock your Xiaomi router in 5 minutes
Here’s an article that might interest many of you. For many years, Xiaomi has been developing a whole range of routers, each more powerful than the last, at increasingly competitive...
Easily outsource your Home Assistant backup
Even back then, outsourcing Home Assistant backups was a concern for me. Given my Raspberry Pi setup, everything was stored on the SD card, I wrote an article in 2023:...
Comments