By Lenovo
(155€) Lenovo ThinkCentre M710q Tiny Intel Quad Core i5 256 GB SSD 8 GB Memory Windows 11 Pro with W-LAN Business Desktop Computer Mini PC (Refurbished)

This page has been visited ... times

You will find on the internet several ways of performing NAS based on mini-PCs but for a performance equivalent to the Intel i5 or i7 the prices can quickly skyrocket. This type of tutorial is not the first on the web but I will offer you a simple way to make a NAS based on reconditioned and inexpensive Intel i5 hardware and show you how to install OMV or Truenas on proxmox for overall management. Little icing on the cake you can also easily install HomeAssistant OS (HAOS) and the Frigate NVR manager using Proxmox VMs and thus easily combine NAS and Home Automation on the system.
Haade.fr is a participant in the Amazon Services LLC Associates Program, an affiliate advertising program designed to provide a means to earn fees by linking to Amazon.com and affiliated sites.
Many sites extol the merits of mini-PCs with surrealist power, but often when you want to invest in purchasing such a device equipped with an i5 processor or equivalent the prices skyrocket. But you might as well equip yourself with a powerful reconditioned mini-pc. There are plenty of them on the market like the Lenovo thinkcentre M7X or HP EliteDesk 800 and if you do well you could acquire one for barely more than €100, they have the advantage of being complete and suitable for multi-service servers that can accommodate a high-performance NAS manager.
The Lenovo thinkcentre is small, you can upgrade the capacity of the RAM memory and even integrate a Google Coral M2 A+E instead of the M2 key A+E wifi card. In addition, the case is made of steel, and the USB ports are all 3.2 which can reach a theoretical speed rate of 20Gbs.

As with the Lenovo, the HP Elitedesk is very small, you can also upgrade the memory up to 32GB easily. It also has an M2 A+E wifi card so here too you could integrate a Google Coral M2 A+E, the case is also made of steel and all USB ports are 3.0 with a maximum theoretical speed of 5Gbs.
technical files HP Elitedesk 88 g2

Neither of the two mentioned above can integrate 3.5” hard drives, however they can integrate in addition to the Nvme disk a second hard disk in SSD format. If you want to make a NAS you will need more backup storage then you can equip yourself with an Orico docking station for example which will allow you to connect several disks via USB 3.0.
This has the advantage of not needing to tinker, you connect and off you go.

A NAS needs special disks, which are RED Hard disks, and this is what is the most expensive in terms of equipment for a NAS. With the Seagate 4TO you can buy 4dd for around €400 and make your NAS.

Coming back to our point, if you follow this purchasing model, the installation will cost you approximately €240 without the DD and €640 with. If you decide to modify the RAM you will have to add 86€ for 32 GB and if you want to add a Google Coral costs 45€ Delivered.
In short for 771€ you will have a complete system with 16TB of storage and able to accommodate OMV or TrueNAS for the NAS server, Frigate for the NVR part and Home Assistant OS version for the home automation side. Not that expensive for an all in one.
If you use ZFS on Proxmox or through Proxmox (Truenas or Omv) I strongly advise you to increase the memory capacity to 32GB
For the installation of Proxmox, nothing very complicated, start by downloading the ISO file, copy it to a USB key using the Rufus/Ventoy/Balenaetcher, restart the PC and boot from the USB key (often F8 key), then answer the two three questions and that’s it. To finish, connect to IP address: 8006
Proxmox VE 8.2.X download link in iso format
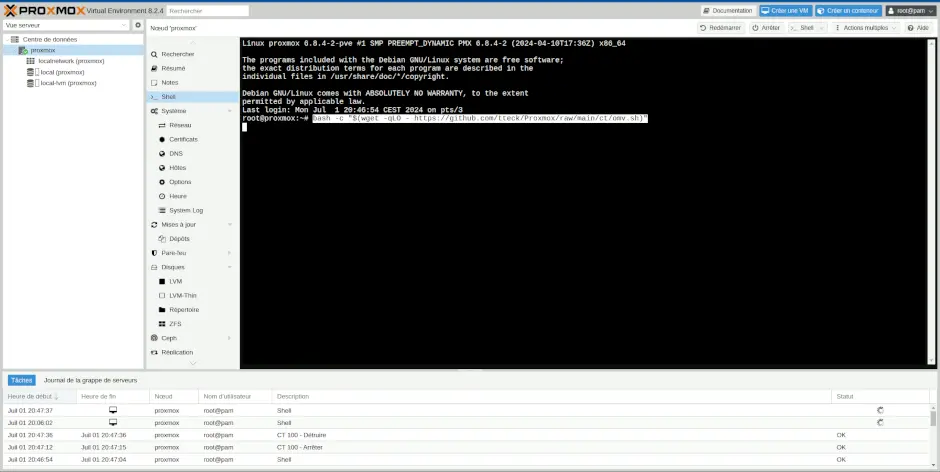
Find below the page of the site bringing together the VM or LXC installation scripts for the different software to be installed for the following steps.
Automated shell installers script for Proxmox VE
By default, Proxmox update repositories include business repositories subject to a paid subscription. So in the animated gif below I show you how to deactivate corporate deposits and simply add a No-Subscription deposit. Finally, update the packages and make Proxmox updates.
Go to the Proxmox > Updates > Deposits tab to change the deposits, then go to update, click on refresh and update.
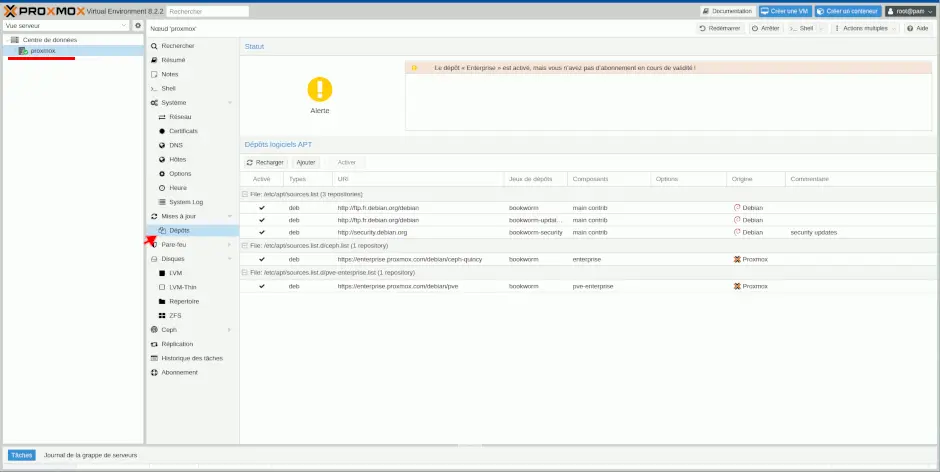
Proxmox does not recommend using the no-subscription repository in a production environment, as it is less followed than the normal enterprise repository
In order to optimize energy saving it is possible to deactivate the screen display after 60 seconds.
To do this, edit the following file:
nano /etc/default/grubThen modify the line GRUB_CMDLINE_LINUX=”” by:
GRUB_CMDLINE_LINUX="consoleblank=60"Finally, apply the change:
update-grubTo finish restart the system
rebootThere are many ways to install images into a container:
All options are acceptable, it’s up to you to see how you want to build your architecture.
Installing omv is ultra simplified thanks to the tteck script. Go to the Proxmox tab and click on shell, to access the terminal then paste the script and launch everything, after a few minutes the installation is complete. You can go to OMV.
Automated OMV shell install script for Proxmox VE
General rule 8GB of sodimm DDR4 memory at 2133Mhz is enough to run these 1 virtual machine, and two LXC containers. The most demanding remains Frigate, however if you decide to have a system that does not confine itself within its limits or if you decide to set up a RAID system in ZFS you will need more memories, I therefore advise you to use some add/replace depending on the PC chosen.
Look at the characteristics of your PC in my case they are DDR4 2666Mhz SODIMMs:

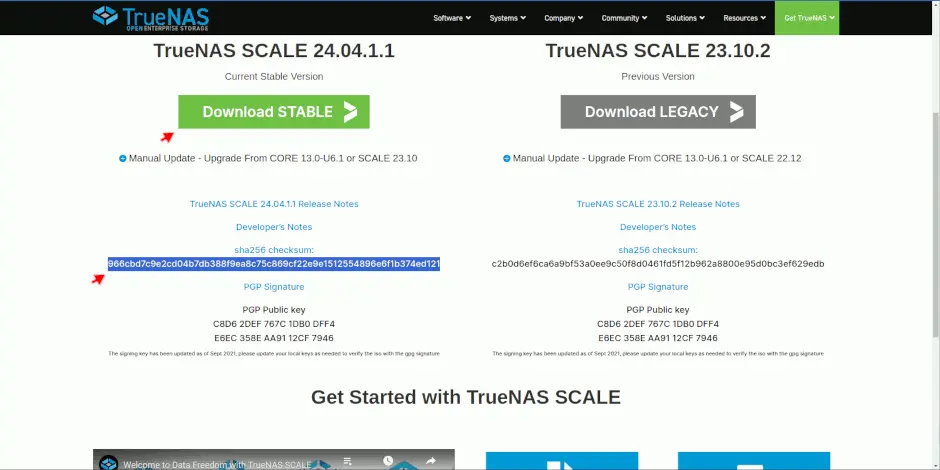
Unlike OMV, the installation of Truenas is not automated in Proxmox you will need to create a Virtual Machine from the .iso image of Truenas Scale.
Also Truenas Scale is installed in a VM which is much more demanding than a container, plus the disk management system is only possible in ZFS RAID, so it will absolutely be necessary to increase the size of the memory and switch to at least 16GB but I advise you 32GB.
To choose I advise you OMV compared to TrueNAS which will be less greedy overall because it can be installed in a container.
Below is a video from Zatoufly which covers the installation of Truenas in passtrought in Proxmox.
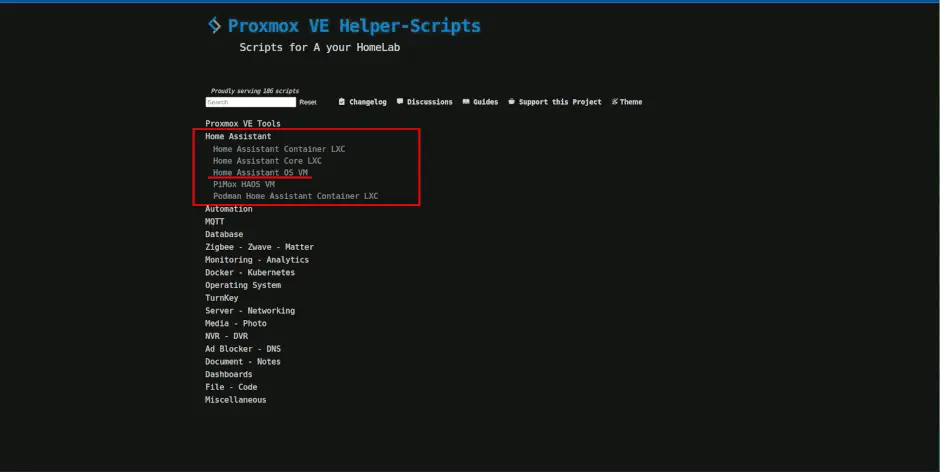
As with OMV or Frigate, installing Homeassistant OS is just as simple thanks to the tteck script, you will even have several scripts to install Home Assistant but only one will allow you to install HAOS.
Be careful to adjust the number of cores and RAM according to the other two for the stability of your system.
Automated HAOS shell installer script for Proxmox VE
Here too there is a script to install Frigate in an LXC Proxmox container, follow the steps and you will have a positive result.
If after this you encounter difficulties with hardware acceleration you can install frigate through docker by installing docker in Proxmox. So you can configure the Frigate instance with all the necessary options.
Automated Frigate shell install script for Proxmox VE
But if you decide to use OMV as a NAS then I advise you to install it through the LXC docker container next to frigate and not via the script.

Below some information links regarding Frigate
If you use Frigate I strongly advise you to use a Google Coral and if like me you use a Lenovo Thinkcentre M710Q PC you can connect the coral instead of the internal M2 WIFI card finally if you don’t have need WIFI (some PCs do not have the integrated WiFi card but the socket is present.)
Google coral purchase attractive price A+E M2 key on BuyZero €45 delivered
Haade.fr is a participant in the Amazon Services LLC Associates Program, an affiliate advertising program designed to provide a means to earn fees by linking to Amazon.com and affiliated sites.
In order to understand the server load and RAM management I will provide you with screenshots based on the installed services, they take into account the Lenovo Thinkcentre PC with 4 cores and 8GB of total RAM.


This is a simple way to work with a refurbished mini PC and use it as a NAS, NVR and Home Automation server at the same time. And thus optimize the return cost of such a system. In alphabetical order, the most demanding of RAM are:
I still advise you to increase the RAM memory, which is often 8GB, and increase it to 32GB so you can accumulate VMs.

I’ve been looking for a compact and silent multi-channel controller to drive my 24V DC irrigation system for quite some time. After testing Zigbee solutions like the Sonoff SWV or...

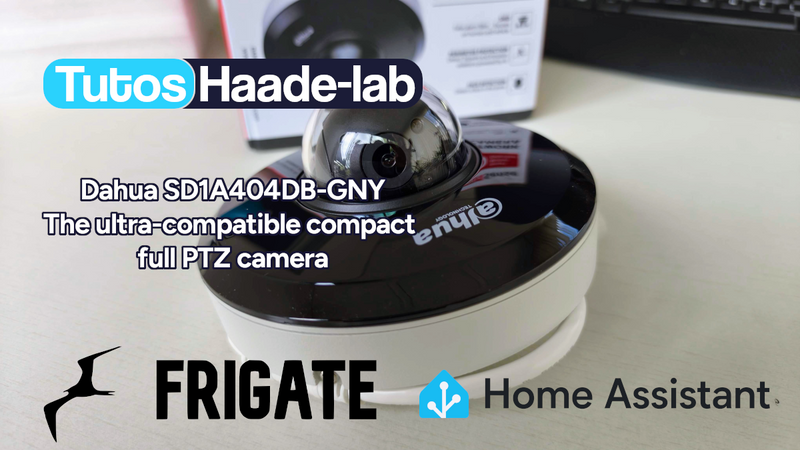
Following my Reolink Trackmix Poe camera test, I mentioned having found my ideal camera with a Dahua model. Well, here we are! Let me introduce the Dahua SD1A404DB-GNY, a compact...
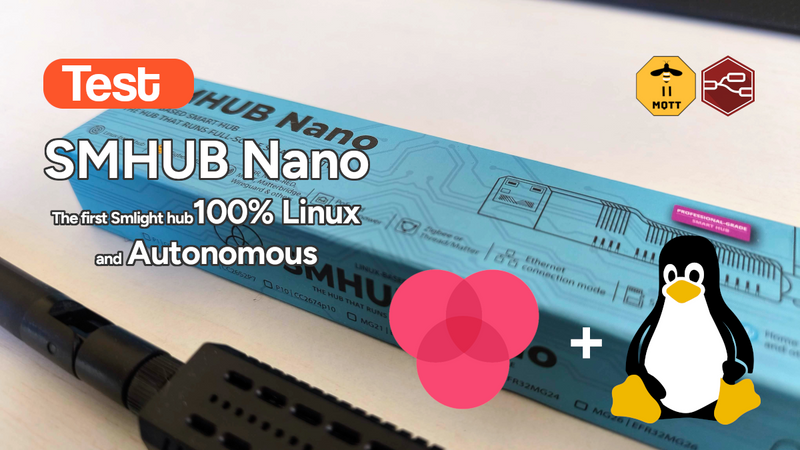
After testing the SLZB-MR4U multi-radio dongle, I’m turning back to the SMLIGHT brand for a radically different yet equally exciting product: the SMHUB NANO MG24.
Copyright © 2026 Haade 🎉 by Nicoxygen


Comments