IP66 waterproof case
By Avoir
Have IP66 Outdoor Waterproof Waterproof Wall Socket With Switch EU UK General Standard Plastic Material Repeat Open Hole Waterproof Outdoor Socket
This page has been visited ... times
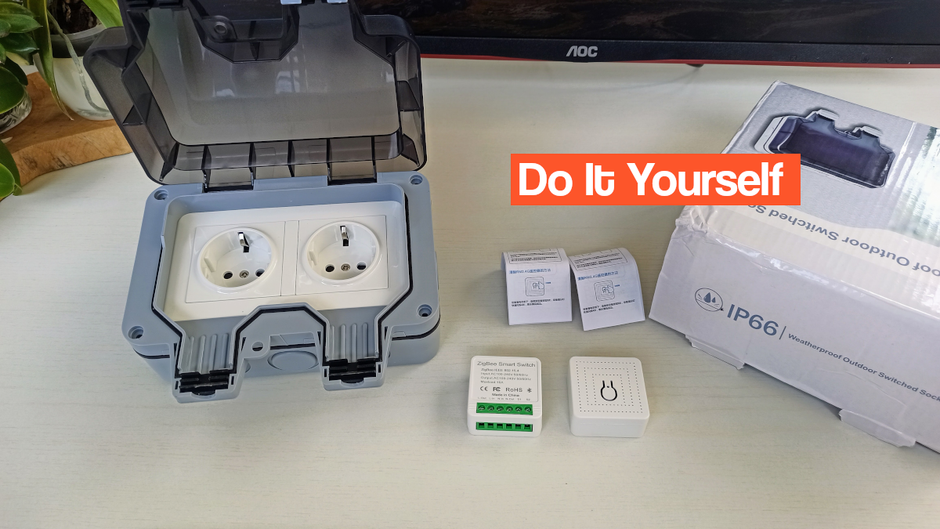
The world of zigbee-compatible objects is growing rapidly, but there are still many untapped niches on certain module creations. Today a little simple creation tutorial which consists of creating a controllable double socket module in zigbee for the exterior IP66 in order to withstand the weather safely all this at the price of 40 €!.
In this tutorial I decided to domotize a double socket with two 16A KR2303 zigbee modules, I chose these modules for their sizes and the compatibility with the connection to an N and L socket available in input and output, possibility of connect a switch, but in this tutorial it will not be the case.
The boxes of the AVOIR brand are of high quality, the thick plastics, the seals perfectly waterproof, the grip is solid but the rendering of the plastics is a little cheap if we compare with what Legrand does.
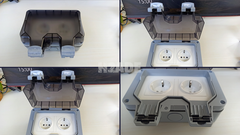
I took some pictures of the box have below, for the price I think it’s worth the cost. Only downside is a socket that is not built-in like Legrand can do, it still allows you to install it anywhere.
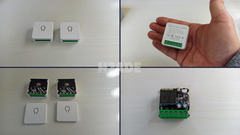
Regarding the micromodules, I went with this type of Chinese manufacturing for their sizes of 41 x 41 x 20mm, and also and above all for the price less than 6€ per unit you can find some others on the market and maybe even better quality but bigger and more expensive. In short the integration into Z2M does not pose any problem, on the other hand to integrate them correctly in the case I had to remove the shell, which in itself does not pose any problem since they will be anyway in a waterproof box.
before dismantling the shell remember to pair the modules in your favorite assistant, be careful you will be working under voltage remember to cut the power before

As you can see in the photos below, the micro modules are well recognized and configured as an Ewelink ZR03 router. Only downside of these modules, they do not allow to measure the intensity of the current and to make it go up. Too bad but I will do without for this integration unfortunately.
Also the power supply is poorly recognized in Z2M but it has no importance on the operation.
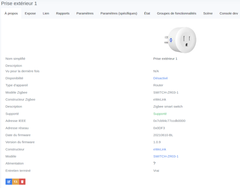
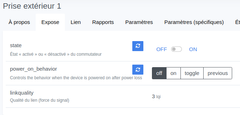
The Module doesn’t expose much:
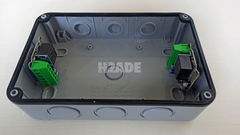
I fixed the micromodules using a hot glue gun and in the direction of the photo by putting the copper coil located on the printed circuit at the bottom of the case because otherwise it would be compressed during assembly of the box.
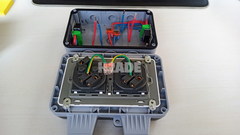
Then all you have to do is connect the modules to the sockets as in the photo below and connect to the sockets.
Connect everything to the current and close the circuit breaker, all you have to do is test.
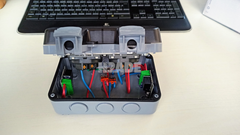
So much for less than 40€ we have made a double IP66 outdoor socket smart and controllable thanks to homeassistant. If you go on a single take it will only cost 25€ maximum. The price is very interesting, especially since this type of zigbee product remains rare or even non-existent on the current market.
Copyright © 2026 Haade 🎉 by Nicoxygen
Comments