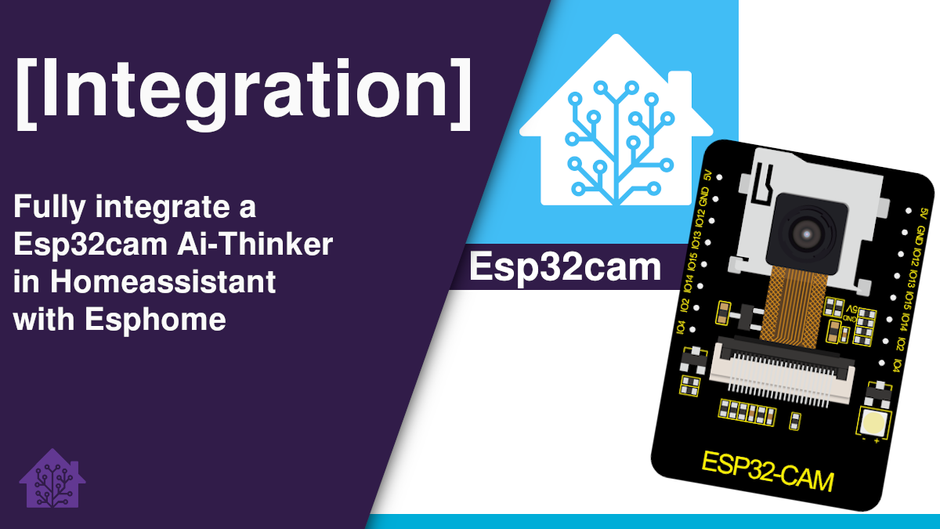
camera esp32 ai-thinker
By Ai-thinker
Camera esp32cam ai-thinker, create a low cost camera

This page has been visited ... times
Why start this article when there are already plenty of others. First, I realized that the other articles or forum topics are all incomplete or poorly explained when it comes to full integration into Homeassistant. Secondo as one of the next articles will have as integration an esp32-cam microcamera in a light, I had to explain this integration first.
If this is your first integration and you don't have FTDI connectors, you can buy the esp32-cam camera with usb connection, this is the ch340 version.

The one and only connection to follow to flash the chip the first time. Don’t forget to put the jumper on 5v.
Before connecting to the usb port, I usually hold the reset button on the esp32 modules and release once the module is plugged into the pc.

| ESP32-CAM | FTDI Programmer |
|---|---|
| GND | GND |
| 5V | VCC (5V) |
| U0R | TX |
| U0T | RX |
| GPIO 0 to GND |
if you have trouble here is a complete and fair article on how to do it (in English)
The two links below allowed me to set up the camera on esphome The first for the settings in general, the second for the exposure of the video and images in order to be able to exploit them under HA or via an NVR.
First step connect the FTDI to the homeassistant onboard computer
Before connecting to the usb port, I usually hold the reset button on the esp32 modules and release once the module is plugged into the pc.
Then go to the Esphome tab and click on the green New Device button
The gist below is complete, you will of course have to customize the names, API, OTA and WIFI keys
Once integrated into Esphome, you still need to configure the camera in homeassistant, nothing could be simpler, just go to Settings > Devices and services, then at the top left will appear an esphome tab at configure like the picture below.

when configuring two more steps to follow:
Looking at the integration below we have:

For 6€ to have a miniature camera integrated at this point in homeassistant thanks to esphome, I say hat, you can go for it, the Esp32 and Esp8266 modules are really modules to buy, test and integrate into everyday life, in a future article I will present an esp32-cam integrated into a parking light bollard, a spycam without a doubt 😜.

I’ve been looking for a compact and silent multi-channel controller to drive my 24V DC irrigation system for quite some time. After testing Zigbee solutions like the Sonoff SWV or...

Following my Reolink Trackmix Poe camera test, I mentioned having found my ideal camera with a Dahua model. Well, here we are! Let me introduce the Dahua SD1A404DB-GNY, a compact...

I wanted to write a summary tutorial because I encountered several problems while setting up my secondary router, which runs OpenWrt. I finally found all the information in the official...
Copyright © 2026 Haade 🎉 by Nicoxygen

Comments