automate a virtual 2 way with 2 switch zigbee

This page has been visited ... times

It is common in France to want to replace its classic switches with zigbee switches. In order to save the cost, it is not to be interested in big brands like Legrand, Siemens, etc. We are naturally moving towards Chinese brands such as Sonoff, or Moes for example. In this article I will simply show you how to virtually automate an existing back and forth with two classic zigbee switches, in a simple, fast and reliable way thanks to homeassistant and blueprint.
Prerequisites
- 2 zigbee 3.0 compatible switches (Sonoff, Moes free of neutral)
- homeassistant installed
- some notions of electricity.
1st step connect the switches
Warning
You will have to work in the vicinity of a voltage of 220V which is dangerous if you come into contact with an electrical conductor. Be careful with your handling, if in doubt cut off the power supply.
A traditional back and forth is made up of 4 phases
- one goes from the electrical panel to a switch (red)
- from the second switch to the bulb (purple)
- between the two switches two shuttles (orange).

if you have two single switches with only one of the two fitted with the phase coming from the panel (red) then it will be necessary to keep one of the two shuttles connected (orange) and make a bridge from the red neutral in order to bring the neutral to the second switch.
If the two switches have a neutral from the tables (case of double switches supplying lights from another circuit) then you can remove the two shuttles.
Personally, I always leave the shuttles in place in the junction box and I equip them with a wago-type connector in order to protect the electrical wires. You never know if one day I decide to go back 👍.

2nd step import the blueprint
Let’s assume that you have correctly connected your switches and that they have been correctly paired to your zigbee network so we can now import the blueprint and configure the two switches.
Below a gif showing the import steps of a blueprint in homeassistant.
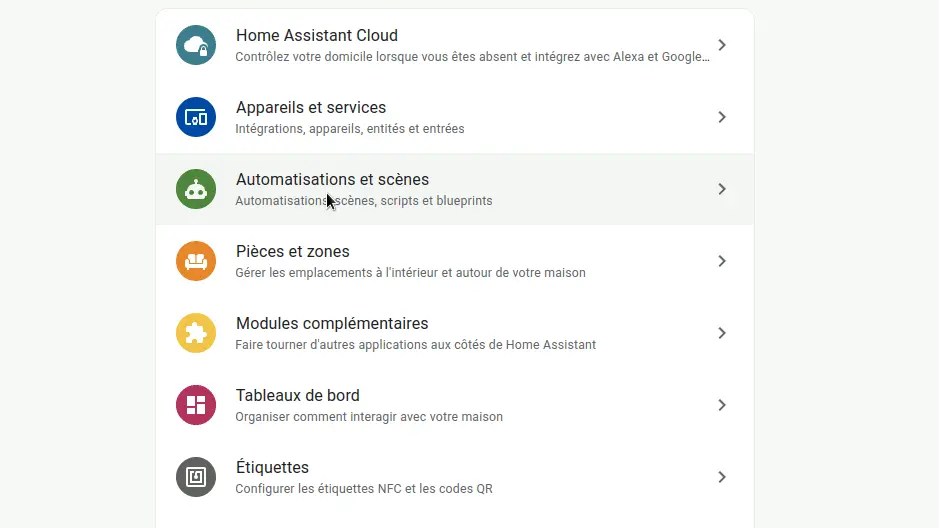
Copy this link for blueprint import:
If everything went well, let’s move on to automation:
All you have to do is set the two switches in switch 1 and 2 and activate the automation.

Bonus
If you want the blueprint for 3 switches (which is common) here is the link to paste:
And here the link to connect 4 switches back and forth:
Conclusion
Here’s a very simple way to automate a back and forth in a virtual, simple, fast and reliable way without response delay between the two switches in other words that it’s instantaneous 😁, the hardest for you if you have no notions of electricity will be to connect the switches correctly.

Articles that might interest you

Kincony B8M ESP32 8-channel MOSFET controller test for irrigation
I’ve been looking for a compact and silent multi-channel controller to drive my 24V DC irrigation system for quite some time. After testing Zigbee solutions like the Sonoff SWV or...


Dahua SD1A404DB-GNY the full option PTZ camera in Frigate
Following my Reolink Trackmix Poe camera test, I mentioned having found my ideal camera with a Dahua model. Well, here we are! Let me introduce the Dahua SD1A404DB-GNY, a compact...
SMLIGHT SMHUB NANO Review: The fully independent Linux smart home hub
After testing the SLZB-MR4U multi-radio dongle, I’m turning back to the SMLIGHT brand for a radically different yet equally exciting product: the SMHUB NANO MG24.
Comments