Explanation of zones in Zoneminder

This page has been visited ... times
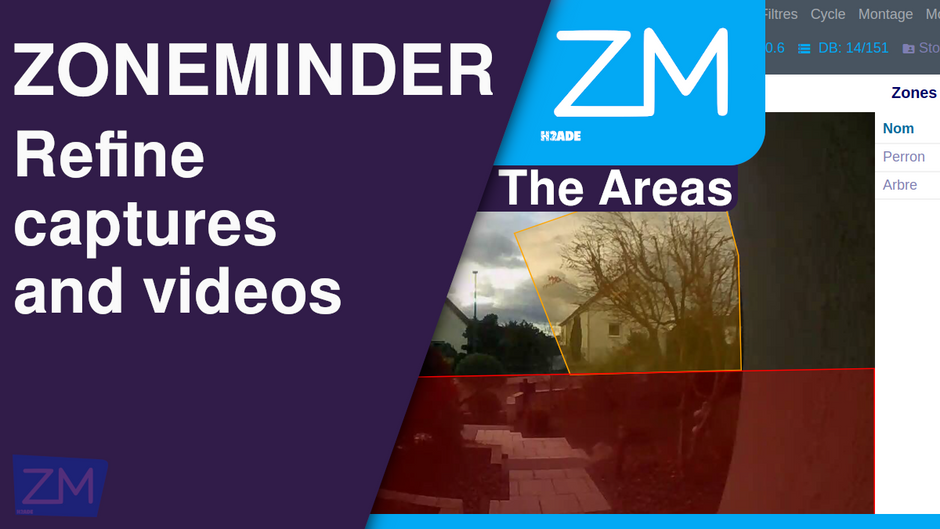
This is one of the most important concepts in ZoneMinder and there are six choices to choose from.
Active
Triggers an alarm when motion is detected on it. This is the zone type you will use most often and will be set for your default zone. Only active and exclusive zones can trigger an alarm.

Inclusive
This zone type can be used for all zones for which you wish to trigger an alarm only if at least one other active zone has already triggered one. This can be for example to cover an area of the image like a plant or a tree which moves a lot and which would trigger many alarms. Maybe it’s behind an area you want to monitor, in which case you would create an active area covering non-moving parts and an inclusive area covering the tree perhaps with less sensitive detection settings as well. If something triggered an alarm in the active zone and also in the inclusive zone, they would both be recorded and the resulting alarm would be much larger than if you had cleared it completely.

Exclusive
Triggers an alarm when motion is detected there, as long as no alarm has already been triggered in an active area. This is the most specialized zone type. For example, in the camera covering my garden, I watch a hedgehog that visits most nights and pokes fun at food from my cat’s bowls. By creating a sensitive exclusive zone in this area, I can ensure that a hedgehog alarm will only go off if there is activity in this small area. If something much larger happens, like someone walking by, it will trigger a regular alarm, not an exclusive zone alarm. So I can make sure I get alarms for big events and also small special events, but not the noise in between.

Preclusive
This zone type is relatively new. It’s called an estoppel zone because if triggered, it actually prevents an alarm from being generated for that image. Thus, movement or other changes that occur within an exclusion zone will have the effect of ensuring that no alarms are triggered at all. Applying this zone type is mostly a shortcut to detecting large-scale general lighting or other changes. In general, this can be achieved by limiting the maximum number of alarm pixels or other measurement in an active area. However, in some cases this area may cover an area where the variable illumination area occurs at different locations as the sun and/or shadows move and therefore it may be difficult to find general values. Additionally, if the sun is coming out quickly, although the initial change may be ignored in this way as the reference image catches up, an alarm may eventually be triggered when the image becomes less different. Using one or more estoppel zones offers a different approach. Exclusion zones are designed to be quite small, even a few pixels in diameter, with fairly low alarm thresholds. They should be located in areas of the image that are less likely to cause movement, such as high up on a wall or in a corner. If a general lighting change occurs, it will be triggered at least from the active zones and prevent any other zones from generating an alarm. Obviously, careful placement is required to ensure that they don’t override any genuine alarms, or that they aren’t so close together that any movement just jumps from one estoppel zone to another. Estoppel areas can also be used to reduce processing time by placing one on an active area. The estoppel area is processed first; if it is small and triggered, the rest of the area/image will not be processed. See Extend Alarm Frame Count below for how to keep the exclusion zone active for an extended period.

Inactive
Suppress motion detection within it. It can be overlaid on any other zone type, preventing movement into the inactive zone from being effective for any other zone type. Use inactive zones to cover areas where nothing noticeable will happen or where you receive false alarms that are not related to what you are trying to monitor. Inactive zones can be overlaid on other zones to mask zones, and are processed first (except privacy zones, see below). As a general rule, you should try to make areas contiguous with each other instead of overlapping to avoid repeated duplicate processing of the same area.
Privacy
Blackens the pixels in it. This can be used if you want to mask certain regions of the image if the situation does not allow another solution. This type of area is different from all the others in that it is treated as soon as possible during the capture (even before the timestamp enters the image) and not in the analysis process. So if you add, edit, or delete a privacy zone, you won’t see the changes in the image until the capture process is restarted. This will happen automatically, but will take a few seconds.

Preset
The preset selector sets sensible defaults based on compute needs (fast vs best) and sensitivity (low, medium, high). You don’t have to select a preset, and you can change any of the settings after choosing a preset. For a small number of monitors with ZoneMinder running on modern equipment, the best high sensitivity can be chosen as a good starting point.
It is important to understand that the presets available are only a starting point. Since each camera’s view is unique, they are not guaranteed to work correctly in all cases. The presets tend to work acceptably for indoor cameras, where the objects of interest are relatively close and there are usually few or no unwanted objects moving through the camera view. Presets, on the other hand, tend not to work acceptably for outdoor cameras, where the field of view is usually much wider, objects of interest are farther away, and changes in weather conditions can cause false triggers. . For outdoor cameras in particular, you’ll almost certainly need to adjust your motion detection area to get the results you want. Please see this guide for how to do this. Units
- Pixels – Selecting this option will allow you to enter (or view) several of the following values in pixel units.
- Percentage – Selecting this option will enter (or display) the following values as a percentage. The meaning of percentage values refers to the area of the box, not the image as a whole. This makes it easier to try to determine the sizes needed.

Articles that might interest you

Kincony B8M ESP32 8-channel MOSFET controller test for irrigation
I’ve been looking for a compact and silent multi-channel controller to drive my 24V DC irrigation system for quite some time. After testing Zigbee solutions like the Sonoff SWV or...

Dahua SD1A404DB-GNY the full option PTZ camera in Frigate
Following my Reolink Trackmix Poe camera test, I mentioned having found my ideal camera with a Dahua model. Well, here we are! Let me introduce the Dahua SD1A404DB-GNY, a compact...

OpenWrt tutorials, AP bridge mode, guest access, and network protection
I wanted to write a summary tutorial because I encountered several problems while setting up my secondary router, which runs OpenWrt. I finally found all the information in the official...
Comments